Meet us at the Barre - Part III
Barre Focus Fitness Instructor Kelly Swiech (@kswiech) teaches us a thing or two about how to get fit (and fabulous!) in the studio – one lift, tuck and squeeze at a time! Welcome back to the studio, LILA ladies! Over the past couple of weeks, with posts Meet us at the Barre, and Meet us at the Barre - Part II, I've given a brief introduction to barre - a widely popular (and addictive!) power workout designed to shape your muscles and strengthen arms, quads, glutes and hamstrings - and shared tips and techniques on a few non-impact, dynamic exercises that will keep you looking and feeling your best throughout the summer season. Today, I'll be wrapping up the three-part series by sharing a few additional barre moves that are quick and easy to replicate. These moves can be performed anywhere - whether that be in the studio, at home, or if busy schedule keeps you on the go... even in your hotel room! So... let’s get started!


Fold Over - Hamstrings & Glutes Face in towards your barre or stabilizing surface. Place your forearms down and rest the top of your head on the back of your hands as you step your feet back so they are under your hips. You want your shoulders relaxed down your back and the spine nice and long. Ground down through your left leg and extend your right leg long behind you. Lift the leg slowly until you feel your hamstrings and glutes engage, always keeping hips level and square down towards the floor. From here, pulse your leg up using very small, controlled movements. Keep toes reaching long, squeezing into your glute and hamstring to lift the leg. Repeat on the other side. Tip: It is very common to feel pain or burning in the hip of your standing leg in this position. This is good as it is working those stabilizing muscles. If this is very uncomfortable, keep a deeper bend in your standing leg and slightly shift your weight towards the outside of your standing foot. Variations: With your leg extended long, circle the leg inwards and then reverse, circling outwards. Keep the circles very small as if your toes were tracing the outline of a quarter. You can also bend your working leg to 90 degrees. Follow the set up above and then bend the knee with toes pointing up towards the ceiling. From here pulse up, you can alternate pointing and flexing the foot. Modification: It is extremely important to keep your hips level and square. If having your head down doesn’t work for you, stand upright and hinge forward, resting your forearms or hands down. Your leg will not be as high in this position. Don’t arch your back to get your leg higher, leave the leg low and squeeze to engage your glutes and back of the leg. Advanced: If your leg is bent you can place a core ball or weight behind your knee for added resistance. For an added challenge, lift up onto the ball of your standing leg and bend deeper into your knee.
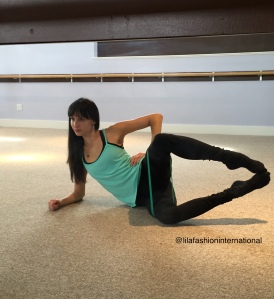

Clam - Side Glutes Lay the left side of your body onto your mat, forearm pressing down as you lengthen your body into one long line from the crown of your head to your toes. Bend your legs to 90 degrees with your knees in line with your hips. Bring your toes to touch and lift them a couple of inches off the ground. Raise your top leg up by squeezing into the side of your seat and gently lower back down. Toes stay touching the entire time. Keep the opening and closing movements very controlled. Hips stay stacked, don’t let your top hip roll forward or back as you move, keep the low abs drawing in. Tips: To help stabilize the hips, your right hand can plant down in front of you. This will help you to keep your torso steady as the legs move. Variations: After a series of opening and closing the top leg, hold legs open and add small presses back. Again, presses back come from griping into your side seat Modifications: If pressing your forearm down does not work for you; lay down with your head resting in your hand. If having your bottom leg lifted is too intense, lower the leg onto the floor, you can still lift and lower the top leg as described above. Advanced: Hand to your hip, side of your head. Add a low resistance loop band. Advanced: To intensify, add a low resistance loop band 2-3 inches above your knees. Try to keep the large range of motion, always staying controlled as you work against the band to lift the top leg.
Thanks for keeping up with Kelly! And don’t forget – first class is free for first time visitors to Barre Focus Fitness. Stay tuned in the coming weeks for more experts on the blog – tackling a variety of topics like hair care, wellness, nutrition, and cosmetology!
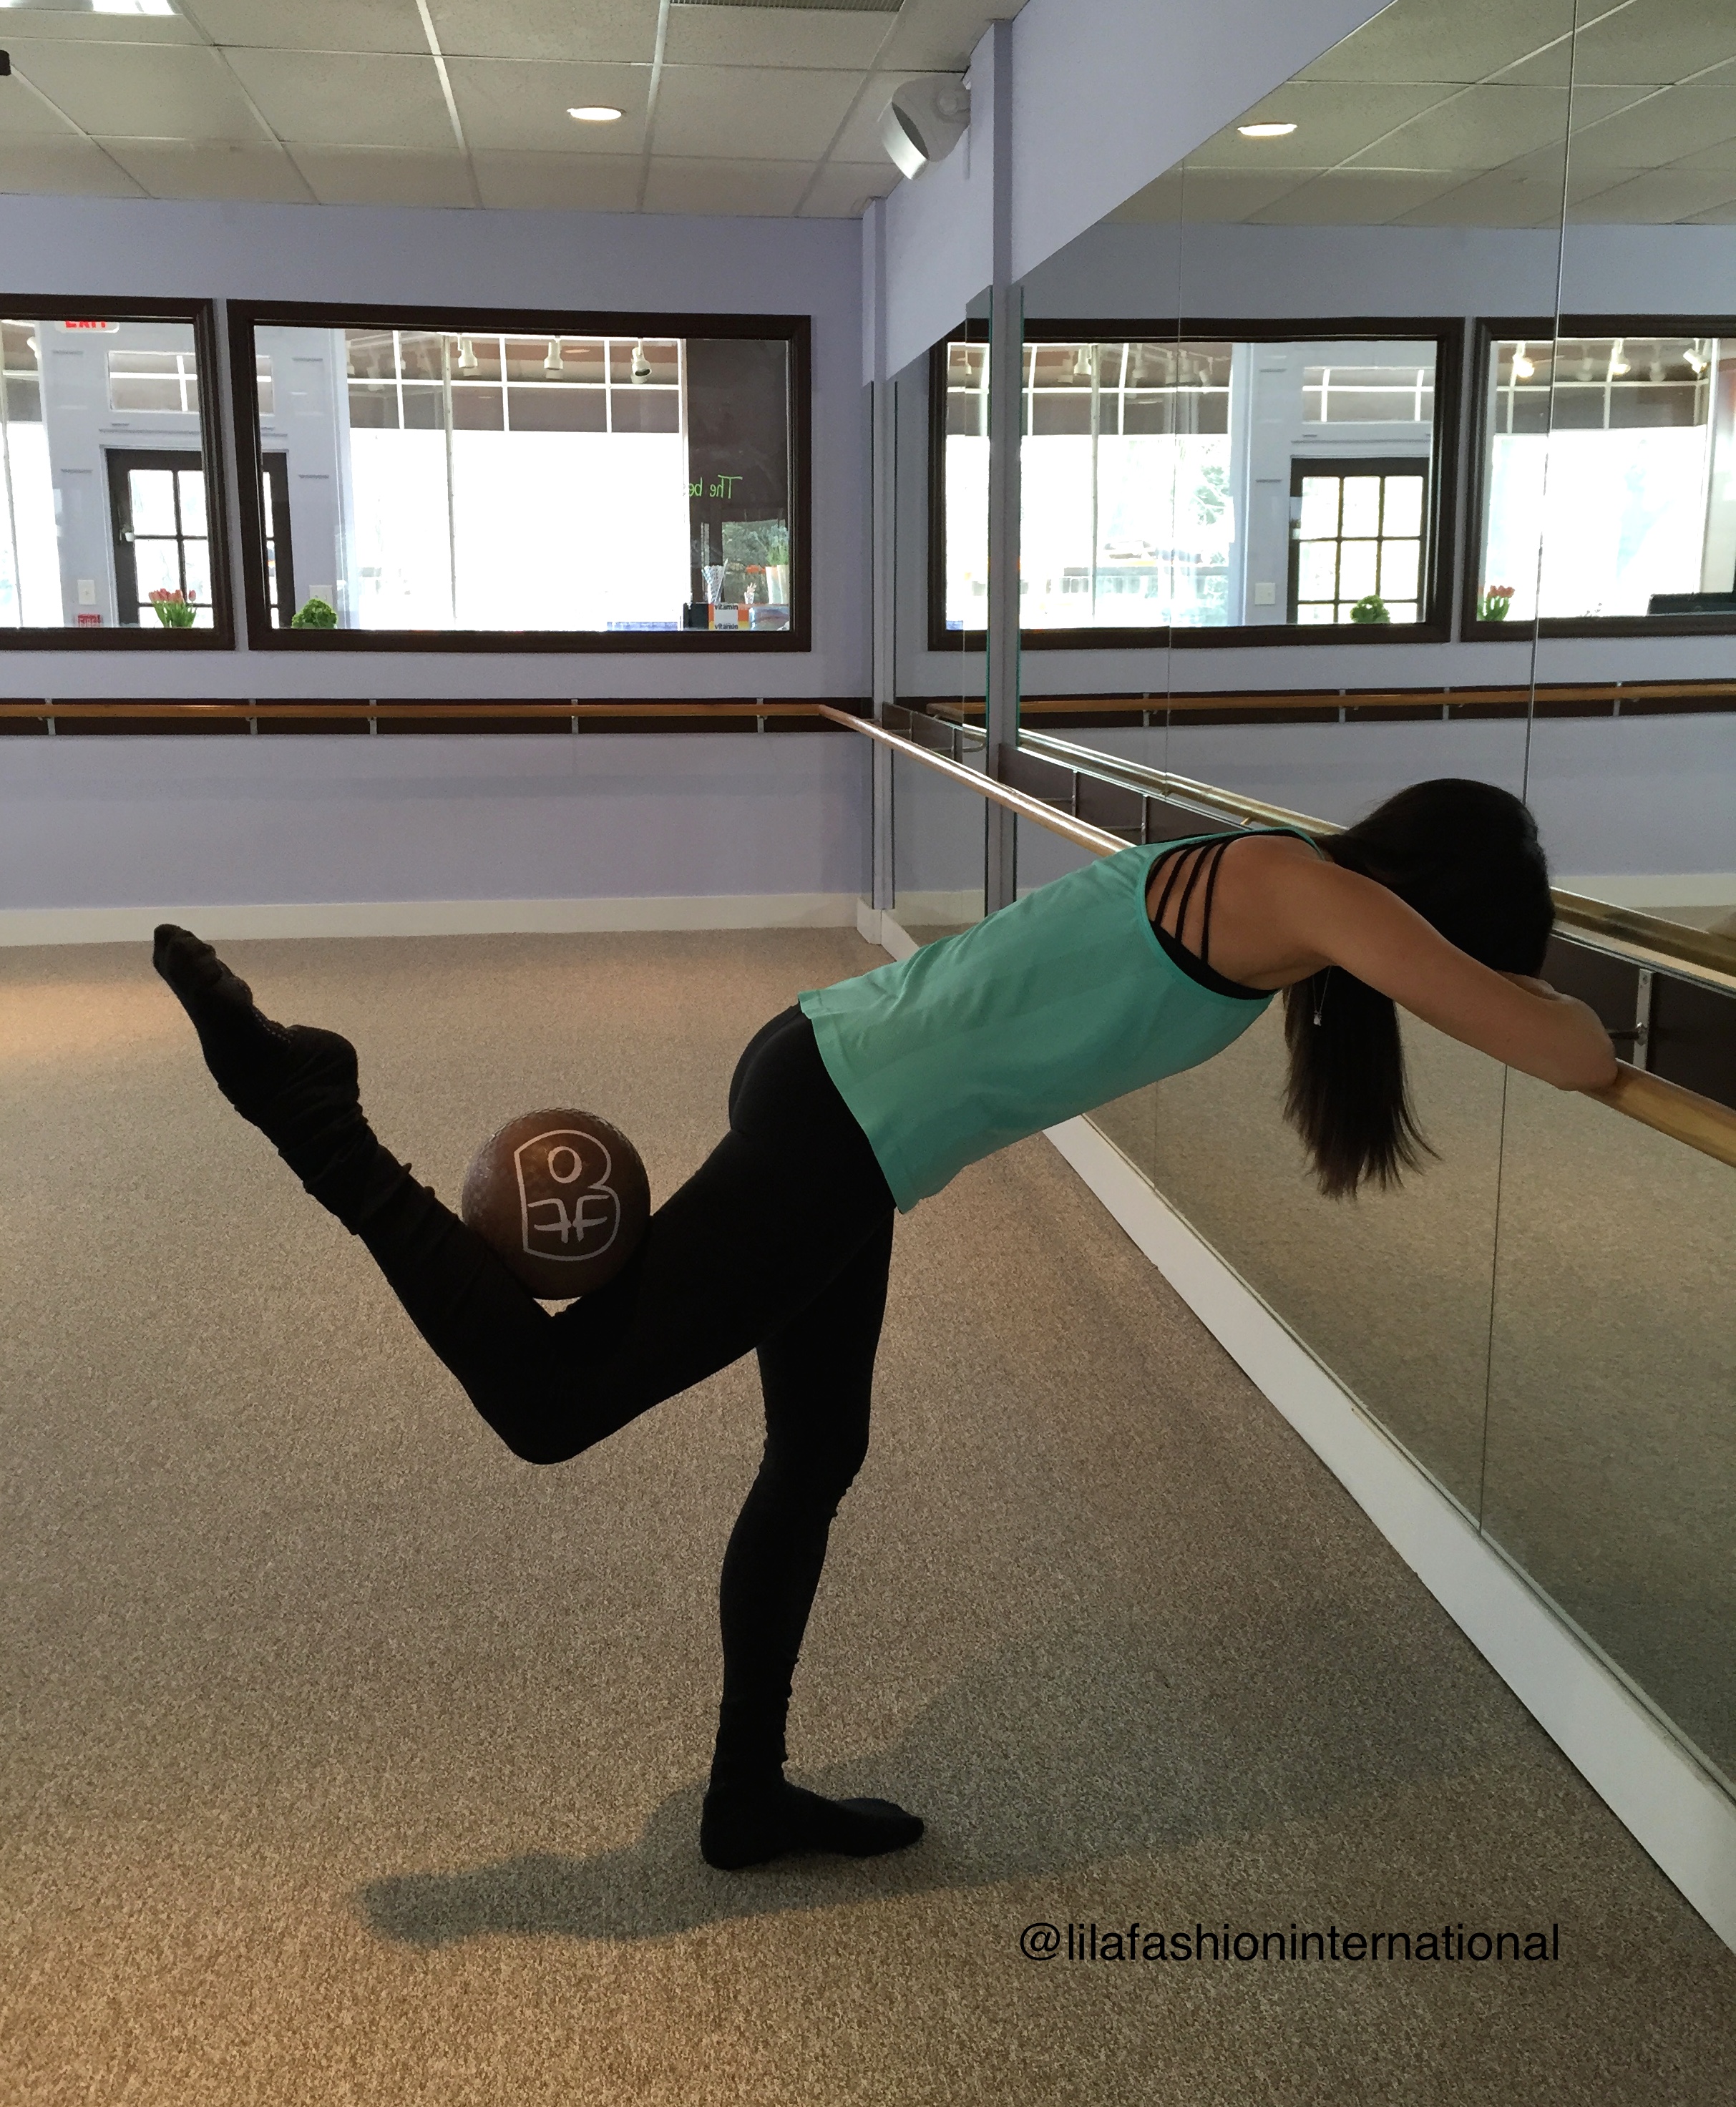